Home/Framer Documentation

Framer Documentation

Framer Documentation

How to Use the CrawlHunt Framer Plugin

This guide walks through installing the CrawlHunt Framer plugin, connecting it to a Framer project, running an SEO audit, and applying AI-generated fixes by hand inside Framer.

Before You Start
  • A Framer account with a project you can edit
  • Permission to install plugins on that Framer project
  • Your Framer project published to a live URL (CrawlHunt audits a live, public site)
01

Install the plugin from the Framer Marketplace

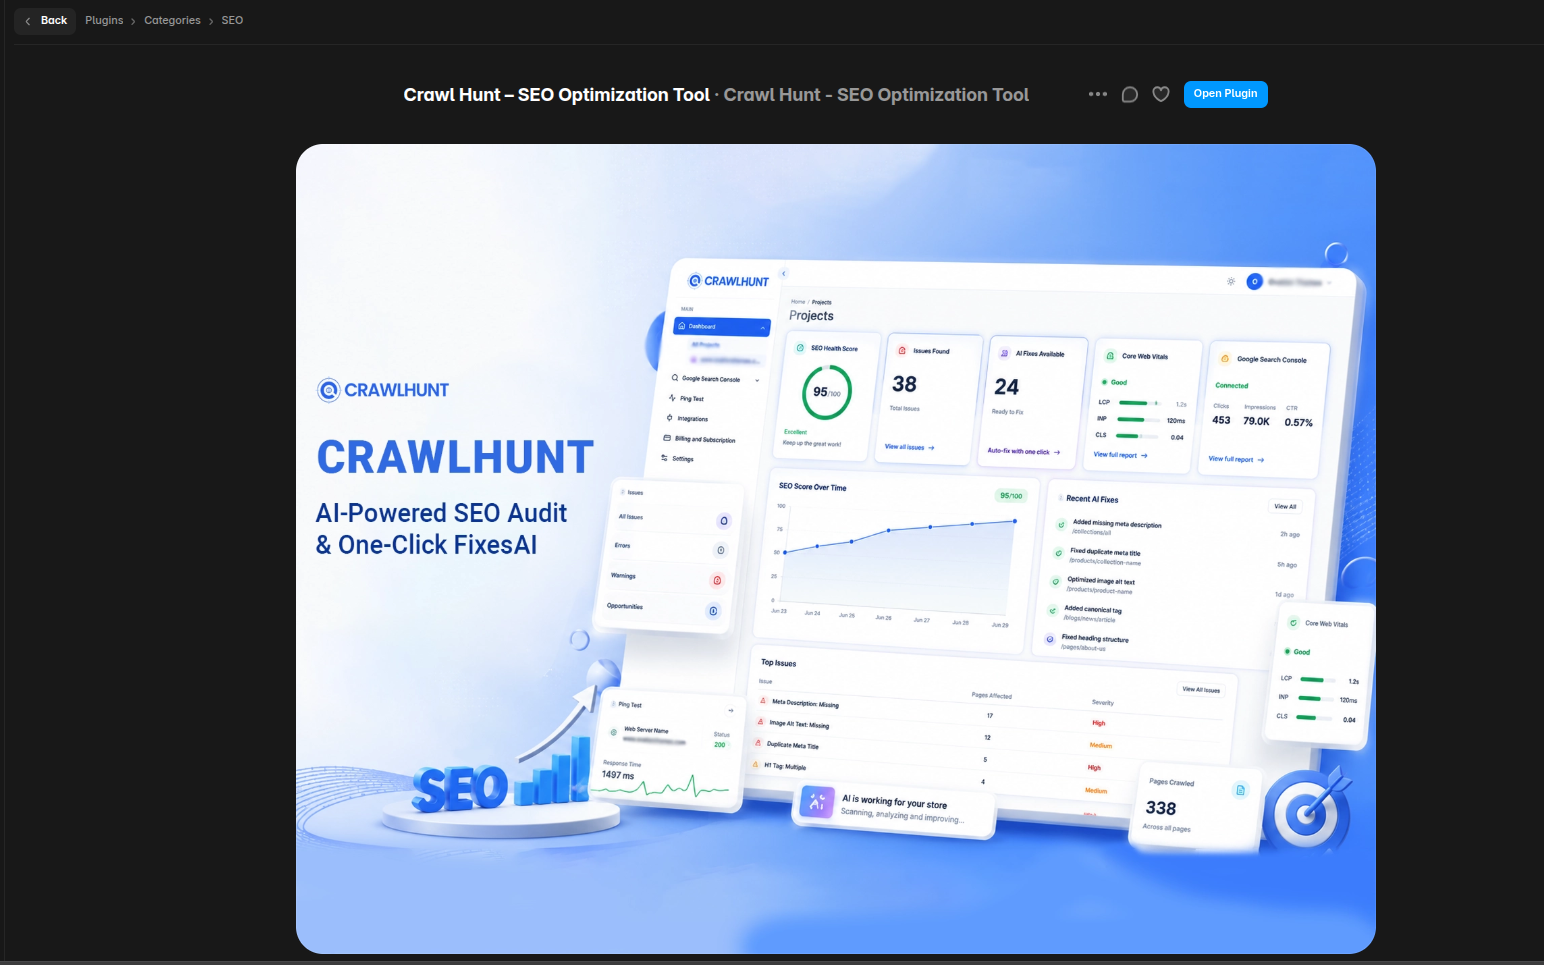
Open the CrawlHunt listing on the Framer Marketplace and add it to your Framer account, or find it directly from inside Framer's own Plugins search.

  • Open the CrawlHunt – SEO Optimization Tool listing on the Framer Marketplace
  • Click Add Plugin (or Install) to add it to your Framer account
  • Open your Framer project and launch the CrawlHunt plugin from the Plugins panel
02

Connect the plugin to your CrawlHunt account

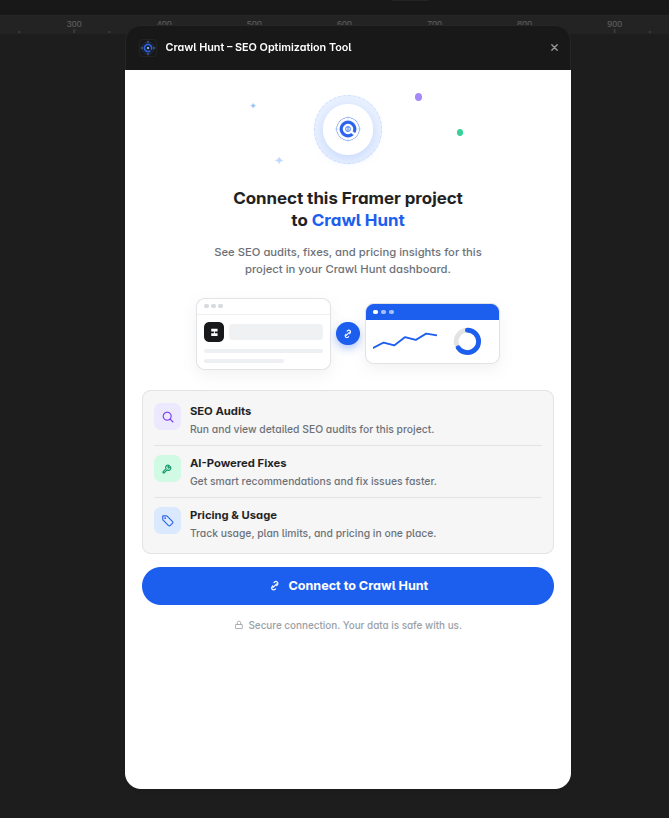
The first time you open the plugin in a project, it shows a Connect to Crawl Hunt screen. Click Connect — this creates (or reuses) your CrawlHunt account automatically, with no separate signup form.

  • Open the CrawlHunt plugin panel inside your Framer project
  • Click Connect to Crawl Hunt on the first screen you see
  • Opening the plugin in a different Framer project under the same Framer login reuses the same CrawlHunt account
03

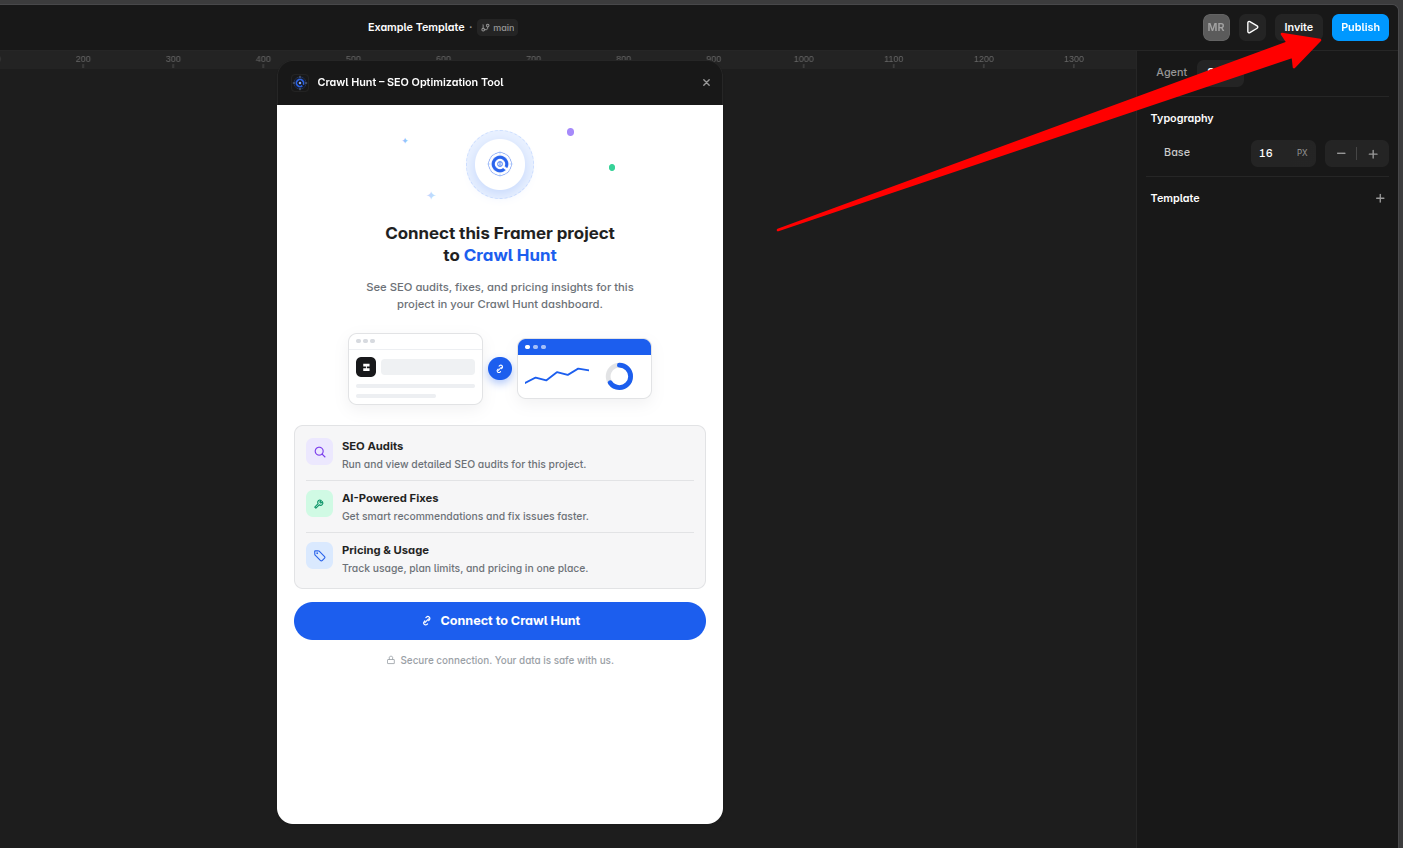
Publish your project

CrawlHunt audits a live, public URL, so it needs your Framer project published at least once. If it isn't published yet, the plugin shows a Publish needed screen with a Check again button.

  • Open Framer's Publish panel and choose a domain
  • Click Publish so your site is live
  • Return to the CrawlHunt plugin and click Check again
04

Run your first scan

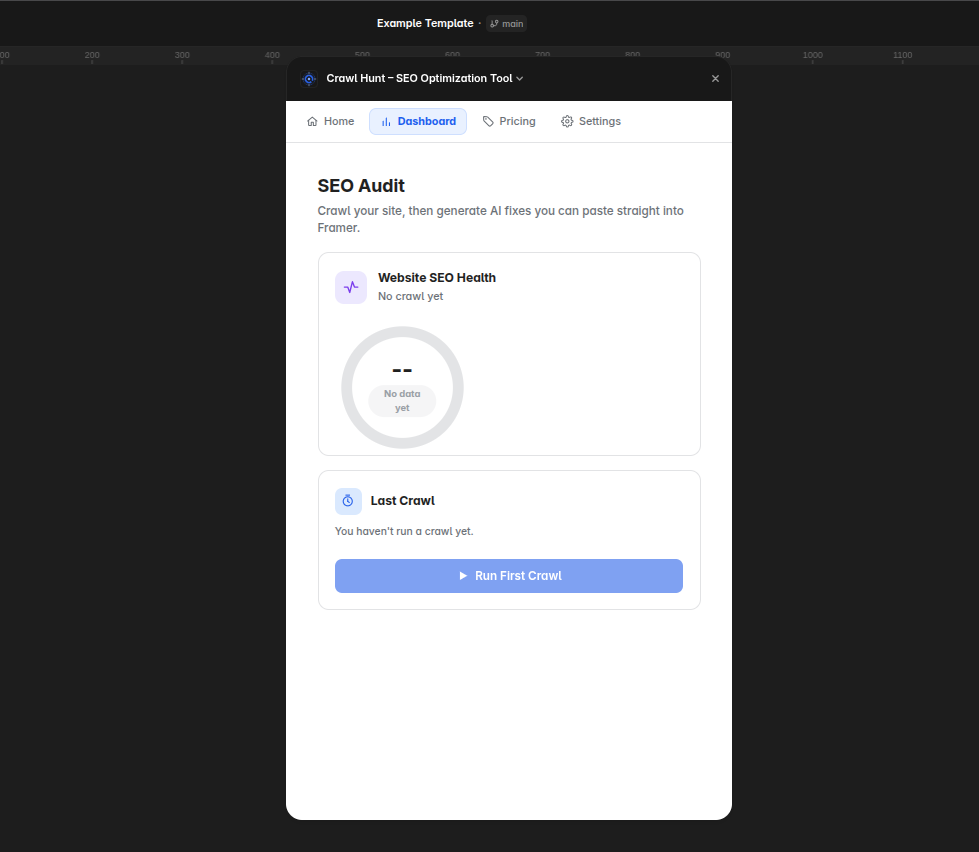
Once connected and published, open the Dashboard tab inside the plugin and run a crawl. CrawlHunt scans your published pages and reports an SEO health score, pages scanned, and issues found.

  • Open the Dashboard tab in the CrawlHunt plugin panel
  • Click Run Crawl to start your first scan
  • Wait for the scan to complete — the panel polls automatically and shows progress
05

Review issues and generate AI fixes

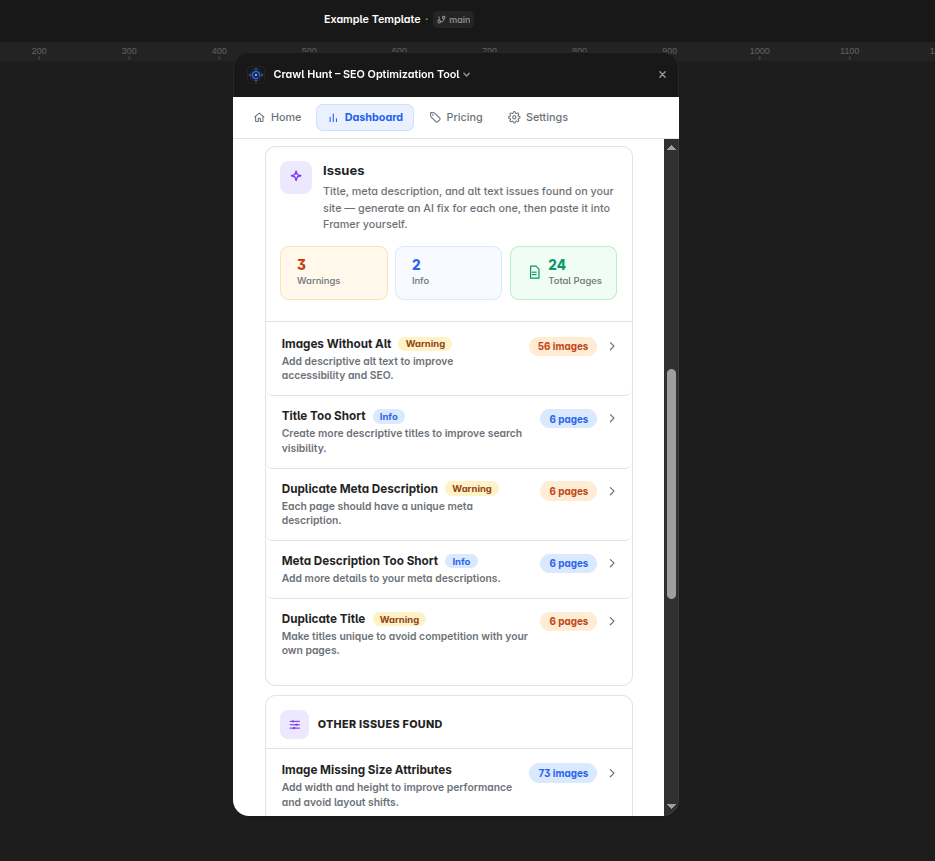
Click into any issue type — missing meta descriptions, short titles, images without alt text, and more — to see every affected page. Click Generate to have AI write the fix.

  • Select an issue type from the Dashboard to see affected pages
  • Click Generate Fix (or Generate Alt Text for images) on any page or image
  • Use Bulk Generate to write alt text for every image on a page at once
06

Copy the fix into Framer

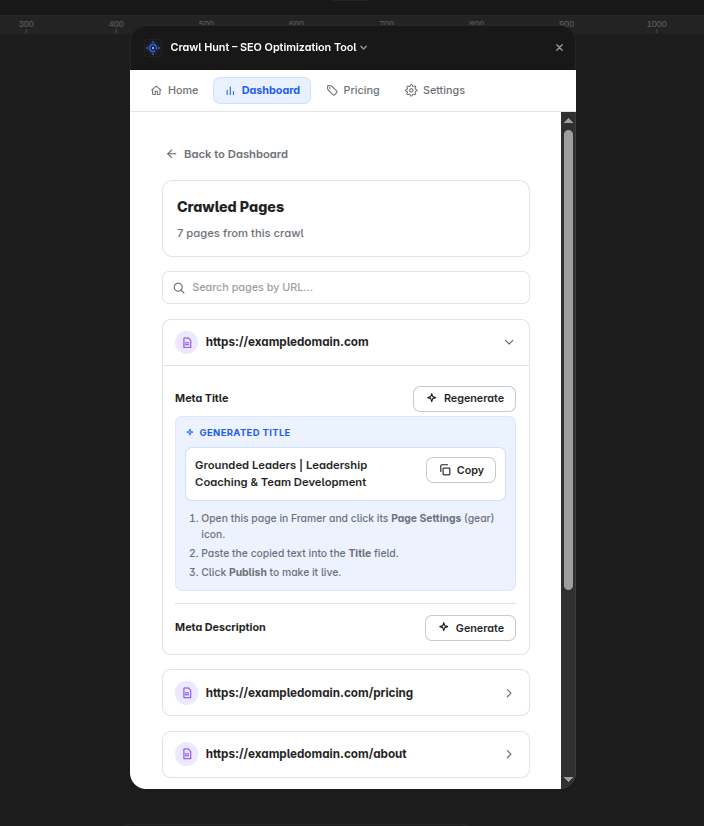
Framer doesn't allow any plugin to write a page's SEO fields automatically, so CrawlHunt hands you the exact text to paste in yourself — this is the one manual step every fix goes through.

  • Click Copy next to the generated text
  • Open that page in Framer and click its Page Settings (gear) icon — or the image's Alt Text field
  • Paste the copied text into the matching field
  • Click Publish in Framer to make the fix live